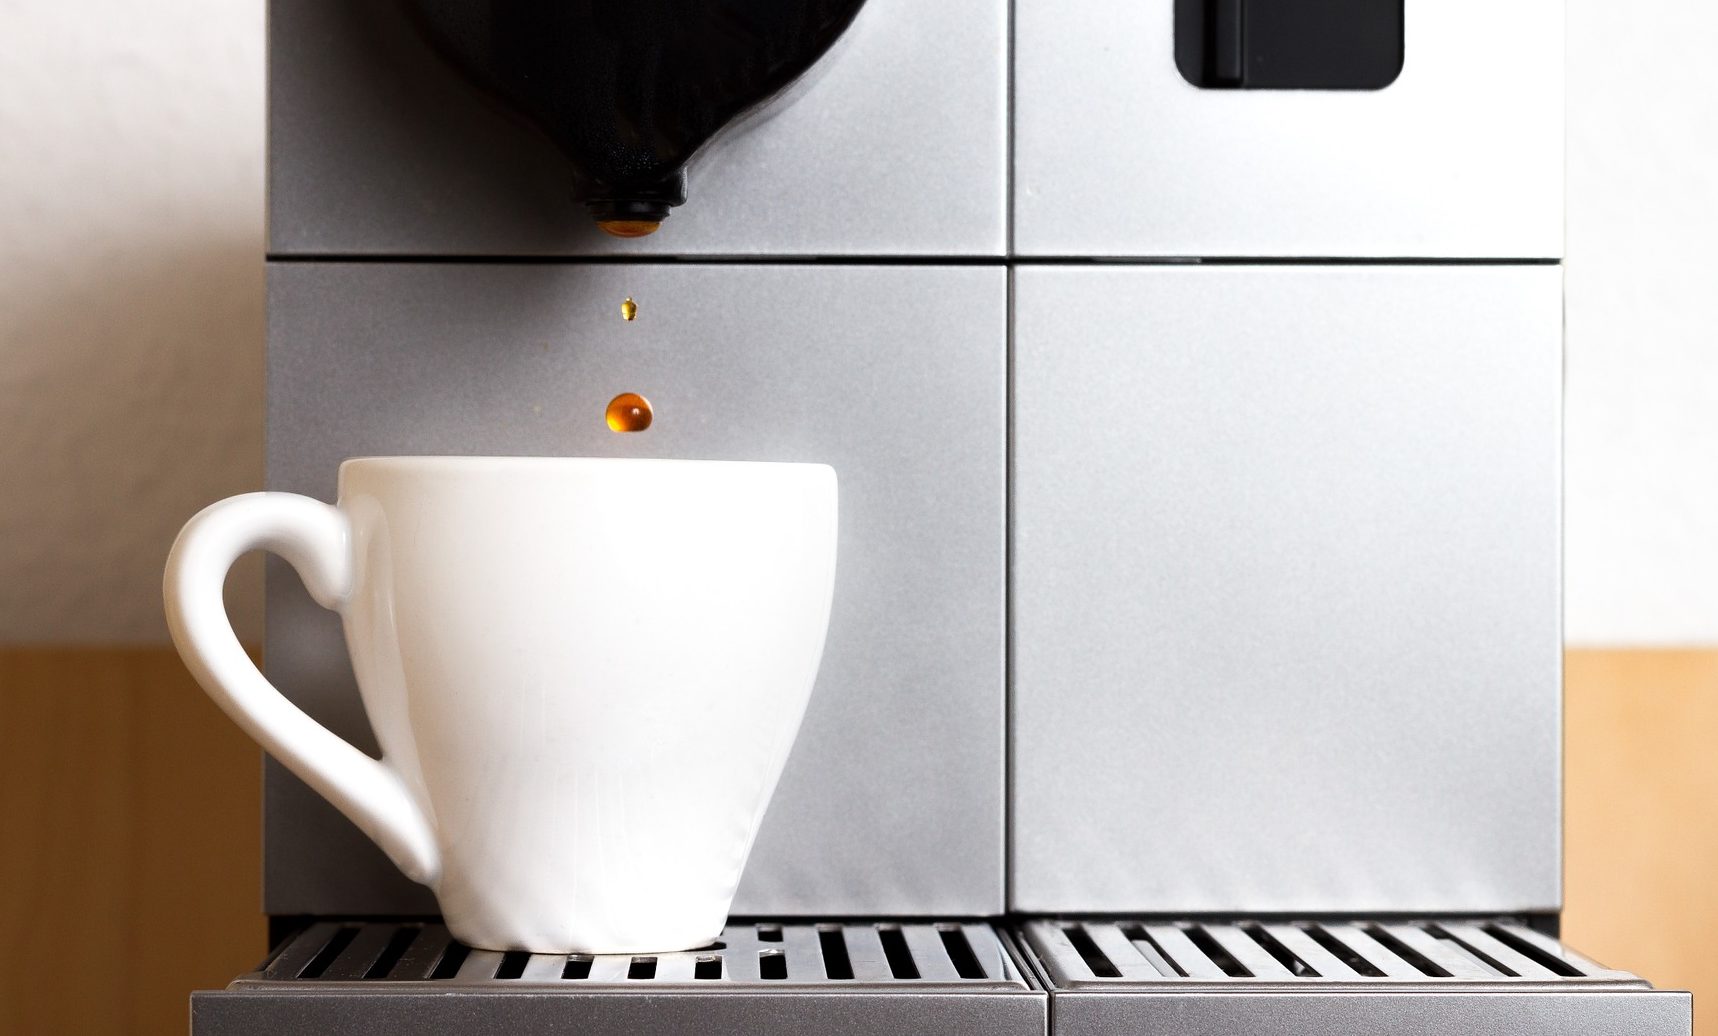
For the proper functioning of your coffee maker, it is very important to keep it clean and in good condition. In addition, we will lengthen its useful life. In the following article we tell you step by step how to decalcify the coffee maker so you can continue enjoying your best coffee every morning.
Are you having problems with your coffee maker lately? If you notice that the flavor of your coffee has been altered or that the pressure of your coffee is not the same as at the beginning, it may be because it is not as clean as it should be.
This happens as a natural result of its own use, because when making coffee, the water in the coffee pot goes through the internal circuits and the coffee can leave in them residues of lime that, consequently, can get to clog.
The frequency with which we will decalcify the coffee maker will depend on the water we use for it. If you use tap water, you must decalcify it every 300 coffees approximately, while if the water we use is bottled, the coffee can hold up to twice as many coffees without being cleaned internally.
What do I need to decalcify my coffee maker?
First of all, you should make sure that you have all the necessary accessories and elements to carry out the decalcification of your coffee maker. To do this, you must get a decalcification kit for coffee makers, which you can easily get at any supermarket.

The best choice is to use the official kit of the brand of your coffee maker – whether it be Nespresso, Dolce Gusto, Tassimo, etc … since these are designed specifically for their own cleaning. However, you can also find other universal cleaning kits on the market, cheaper and also effective, so this decision will depend on yourself.
The process of decalcification step by step
The process to decalcify your coffee maker is very simple and applicable to any model of capsule coffee maker that you have. For an optimal cleaning you should follow the following steps:
- Make sure there are no capsules still attached and empty the empty capsule container ─ in case our coffee maker model has it.
- Fill the water tank together with the decalcifying liquid.
- Place a container, as if you were placing a cup to serve your coffee, to collect the water with impurities that your coffee maker will be expelling during the process.
- Start the coffee machine in descaling mode. This will depend on the model you have, so we recommend that you consult it in the instruction manual of the machine, although it is normally activated by pressing the button to prepare the coffee for a few seconds.
- Let the container fill until the water tank is empty and repeat the process a few more times.
- Once the process is finished, you should clean the water tank very well, with soap for example, to make sure that no decalcifying product remains.

Once these steps are completed, your coffee maker will be ready to continue preparing you coffees with total normality.
Home method
The decalcifying liquids that we buy in the supermarket are made from citrus or acid. Therefore, some substitutes to decalcify your coffee can be, for example, vinegar or lemon juice.
The procedure would be the same that we have explained previously only that instead of using the decalcifying liquid, we will use with the vinegar or the juice. However, although they can be effective, they are not totally recommended, as there is a risk that they will damage the internal circuits of your coffee machine.
As you can see, the process to decalcify your coffee maker is very simple and, in addition, it will not take too much time. So remember to keep it always clean and in the best conditions so that you can keep it impeccable as long as possible.


